Changing a dry bag from a roll-top to a zipper means revising its pattern and assembly sequence. A roll-top needs spare fabric above the load for folding. A zippered version needs room for the slider and a reliable joint between the zipper tape and the bag panel.
Compare both closures with the same load. A bag that is easy to pack on a workbench may be harder to close when full or strapped down. Repeated access during a trip can reveal handling problems that an empty sample hides.
Compare access and usable opening size
Try packing the largest item the bag must hold. A rigid lunch box needs a different opening from a compressible sleeping bag or folded jacket, even when the bags have the same nominal volume. Measure the space available for packing with the actual contents.
A roll-top needs a closing zone above the load
The opposing edges of a roll-top must meet and fold down as specified for the design. Contents packed into the folding zone leave less fabric for closing, which can make the mouth difficult to seal.
Include the folding allowance in the pattern and measure usable capacity with the bag correctly closed. Record its open height separately. Follow the folding instructions and hardware arrangement for that particular design.
A zipper needs clear access beyond its nominal length
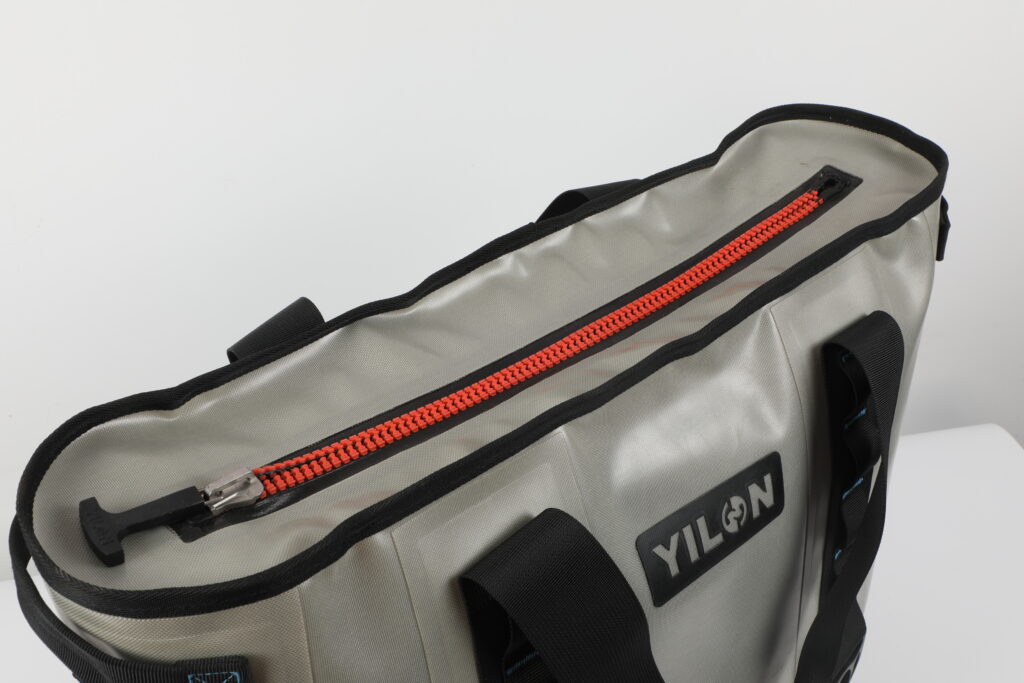
A zipper opening has fixed ends. The tape allowances, end pieces and parked slider take up space, so nominal zipper length alone does not tell you the clear opening size. Panel stiffness also affects how far the mouth spreads. The guide to waterproof zippers for dry bags and backpacks explains how opening geometry affects component selection.
A straight zipper can suit a narrow top panel. A longer curved opening may expose more of the compartment. Before making production tooling, confirm that the selected zipper and attachment process can follow the proposed curve.
| Design question | Roll-top construction | Zippered construction |
|---|---|---|
| Pattern allowance | Reserve material above the fill line for closing. | Reserve tape attachment area, end allowances and slider clearance. |
| Access | The unrolled mouth opens at the top of the bag. | Access follows the installed zipper path and available panel movement. |
| Closure parts | May include stiffeners, buckles and webbing. | Includes the specified zipper assembly and any required reinforcement. |
| Assembly focus | Keep the folding zone even and the hardware aligned. | Control tape position, attachment joints and the transitions at both ends. |
| Loaded-bag review | Check that the intended load leaves enough closing allowance. | Check that panel tension does not prevent complete slider travel. |
Map the seams and assembly steps
A zipper may require a separate top panel or different seam locations. Those changes affect the assembly order. Check whether the sewing machine or welding fixture can reach each joint while the bag is still open and flat.
Plan the roll-top assembly
One possible sequence is to prepare the mouth edges and stiffeners, add the closure hardware, then complete the body joints. Adjust the order to suit the pattern and equipment. Where a body seam meets the folding zone, extra thickness can make the roll uneven.
Work out how the webbing and buckle attachments carry the load. Any attachment that penetrates the protected compartment needs a sealing detail; water can enter around hardware as well as through the mouth.
Plan the zipper assembly
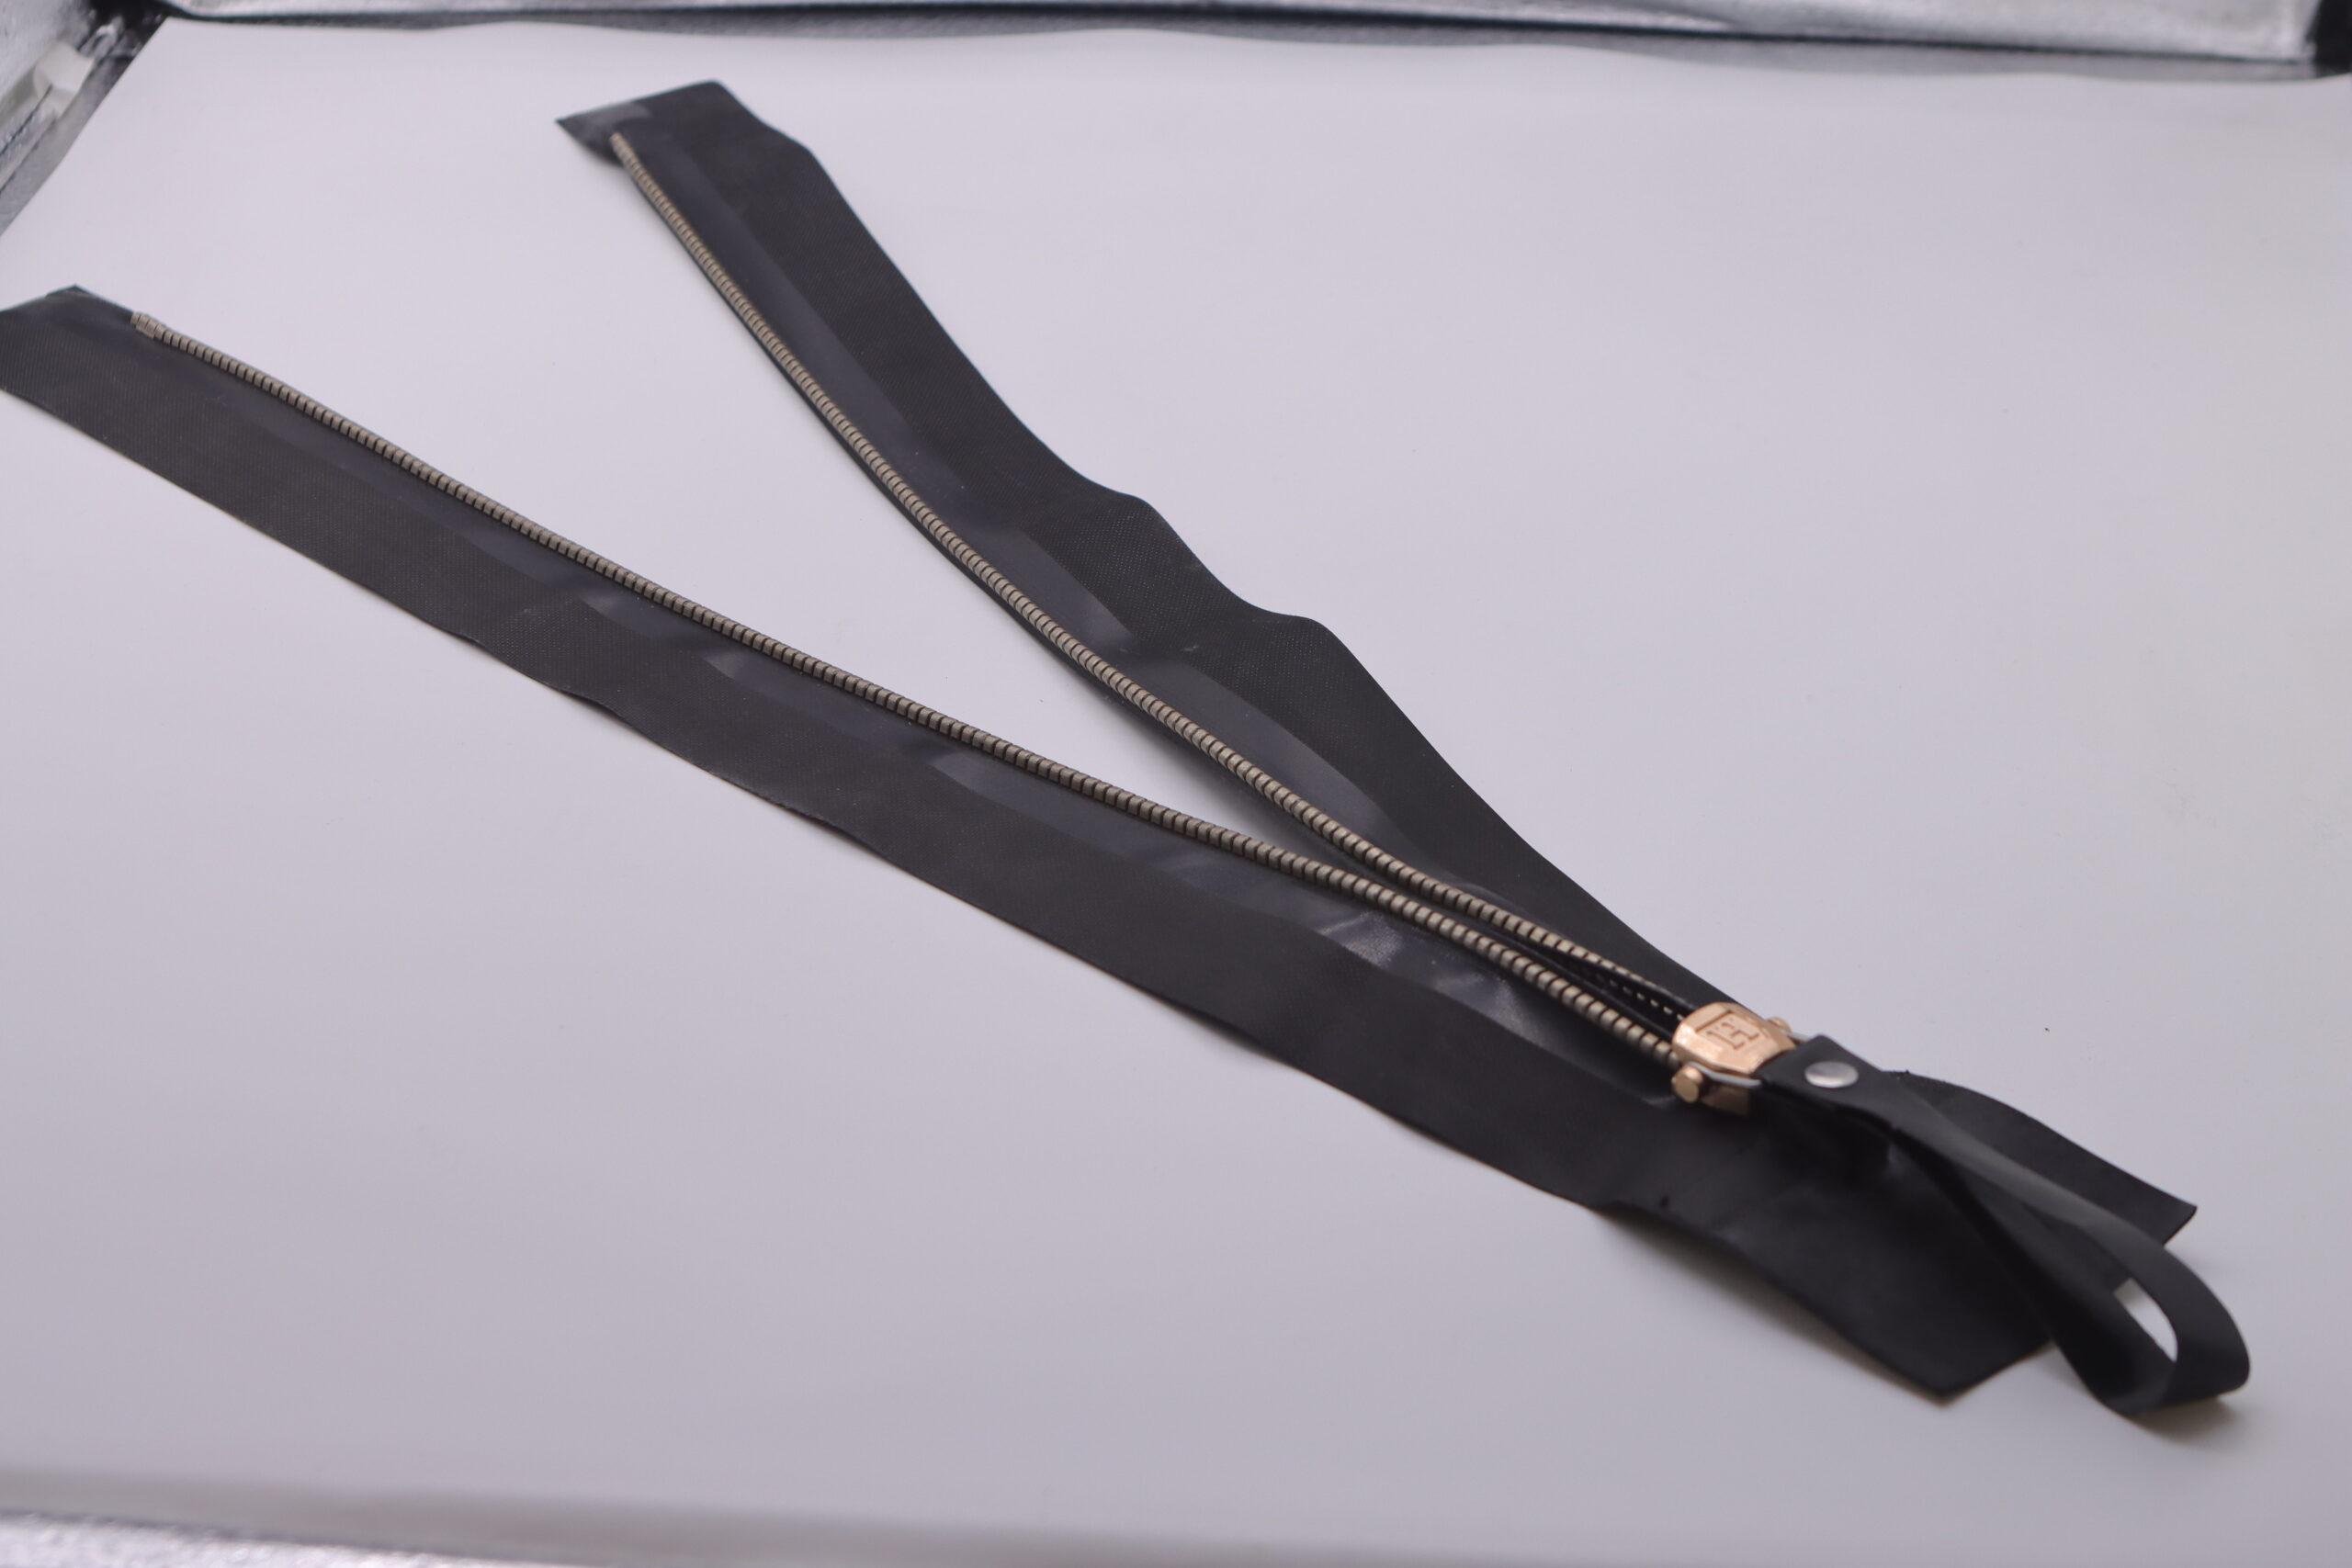
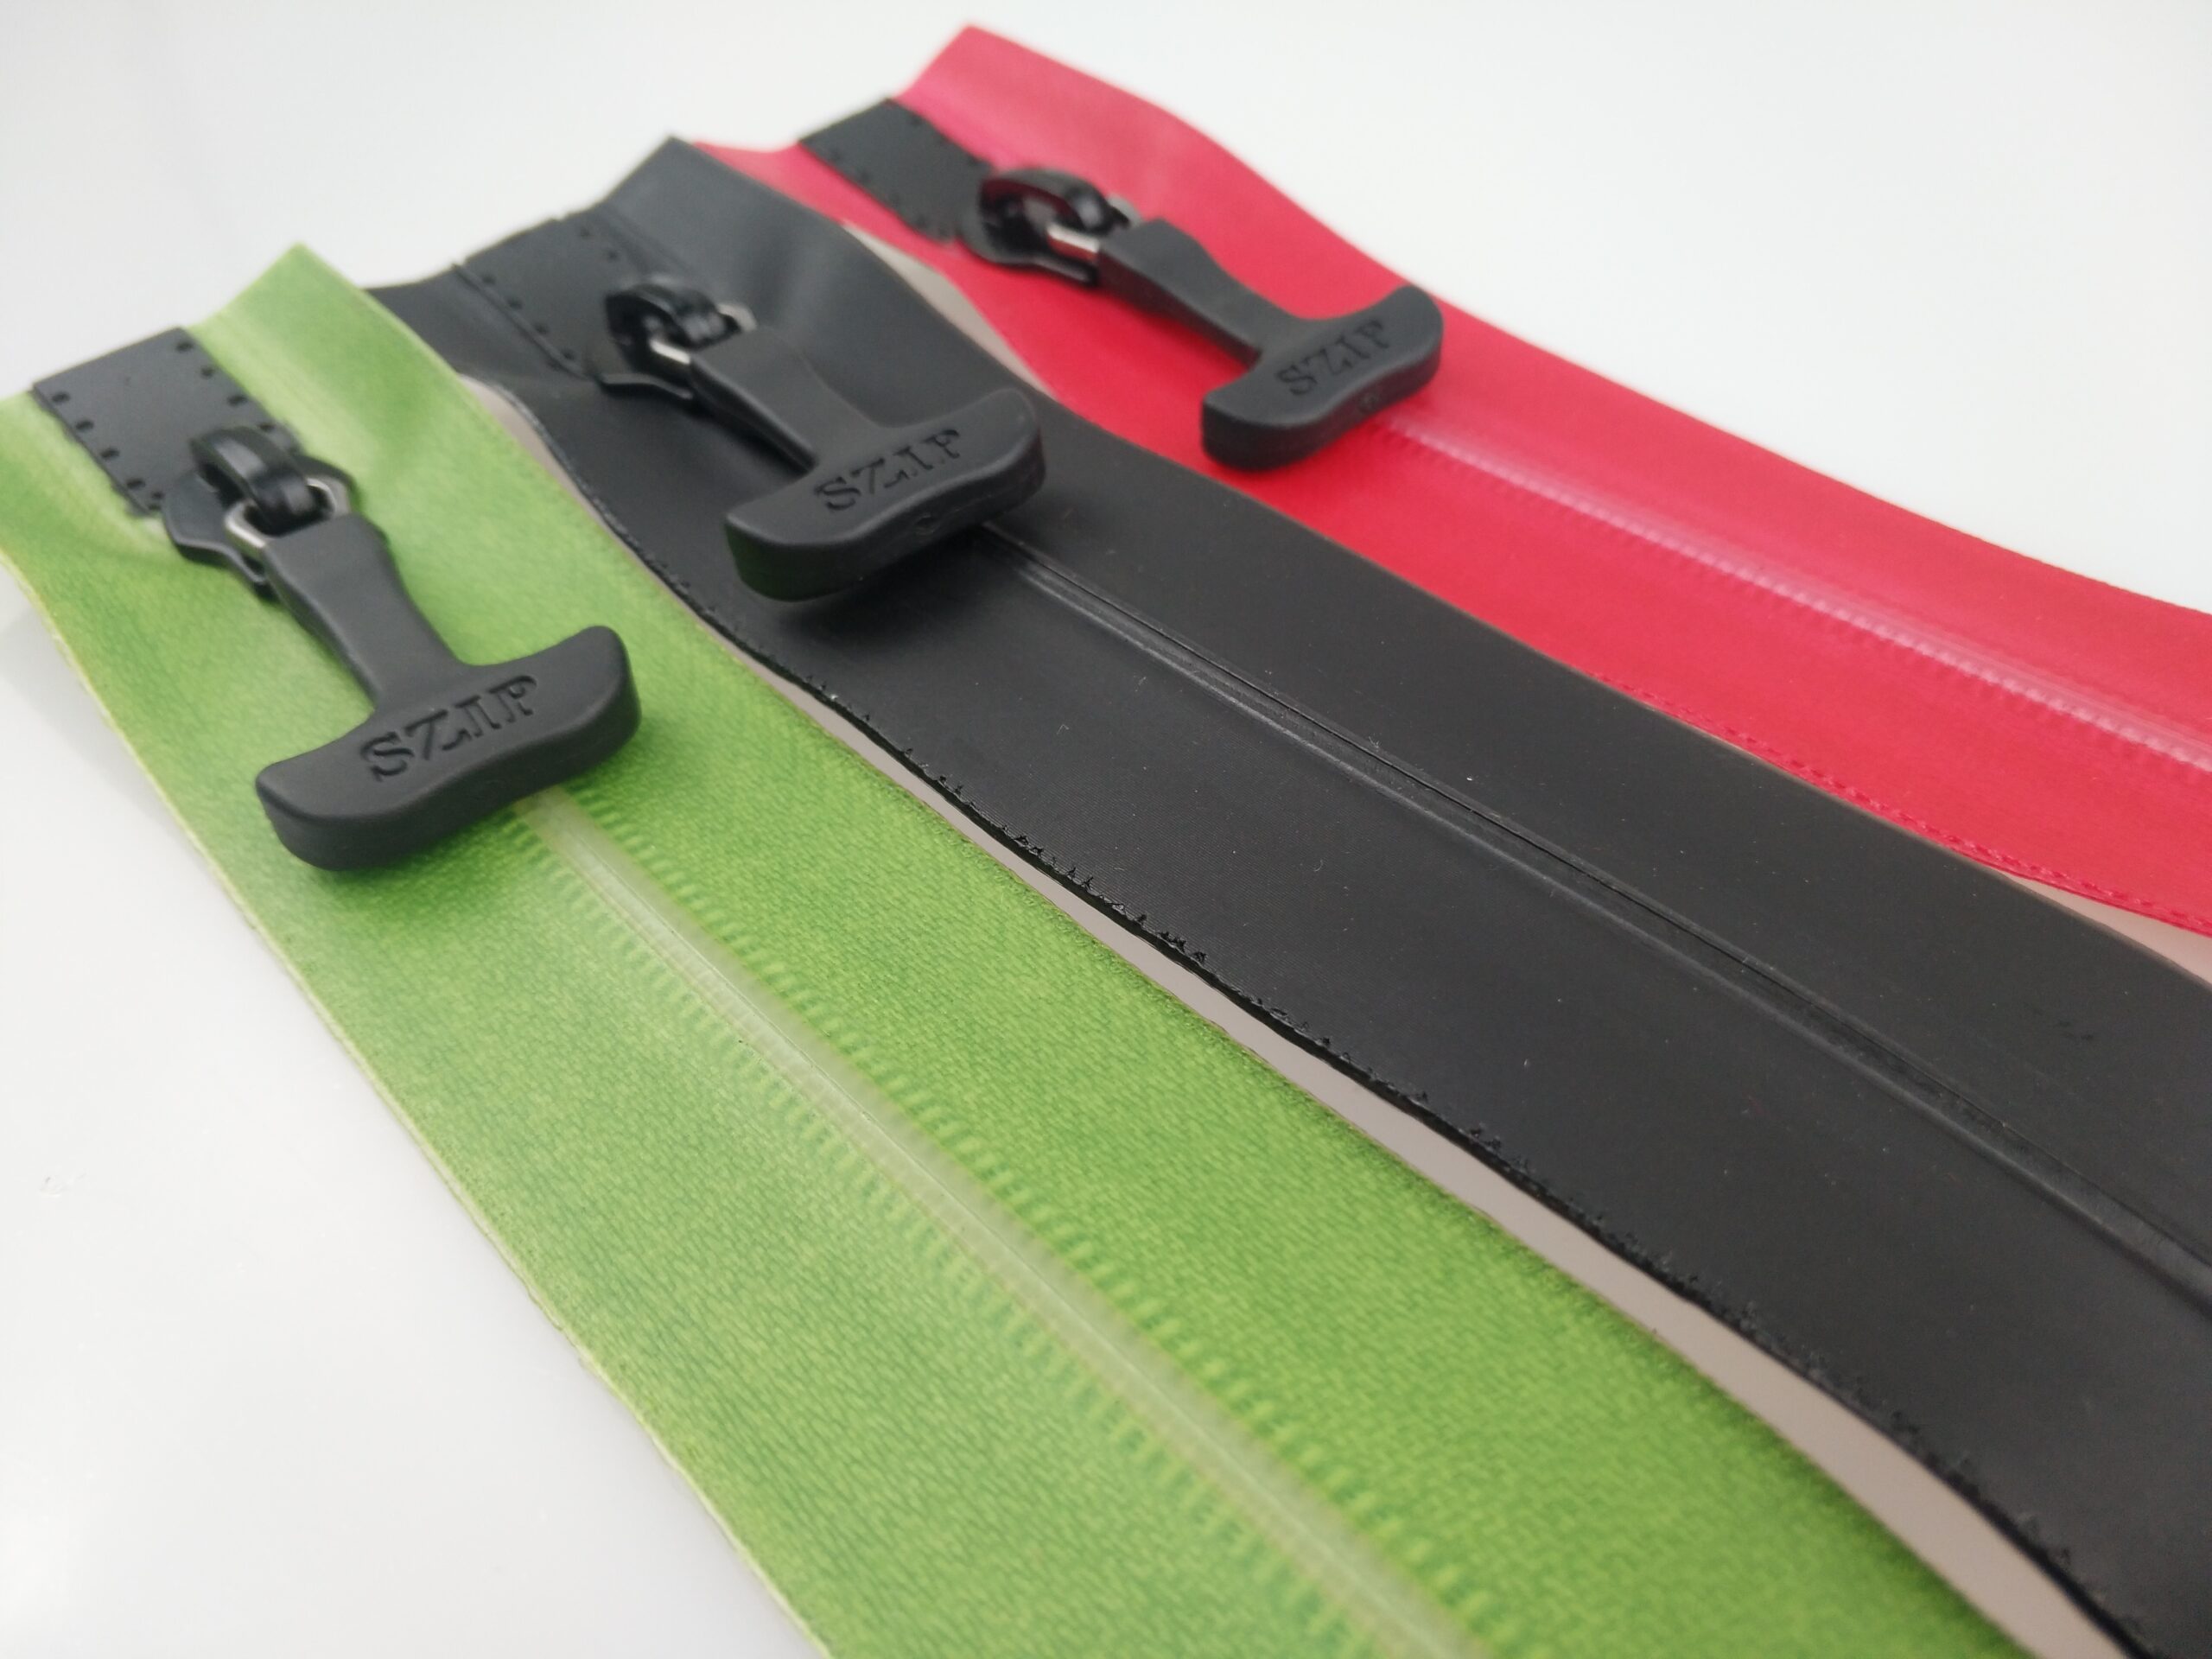
Trial the zipper-to-fabric joint with the intended tape and panel material before building the bag. Check the actual coatings: two surfaces described as coated fabric may still be unsuitable for welding or bonding to each other.
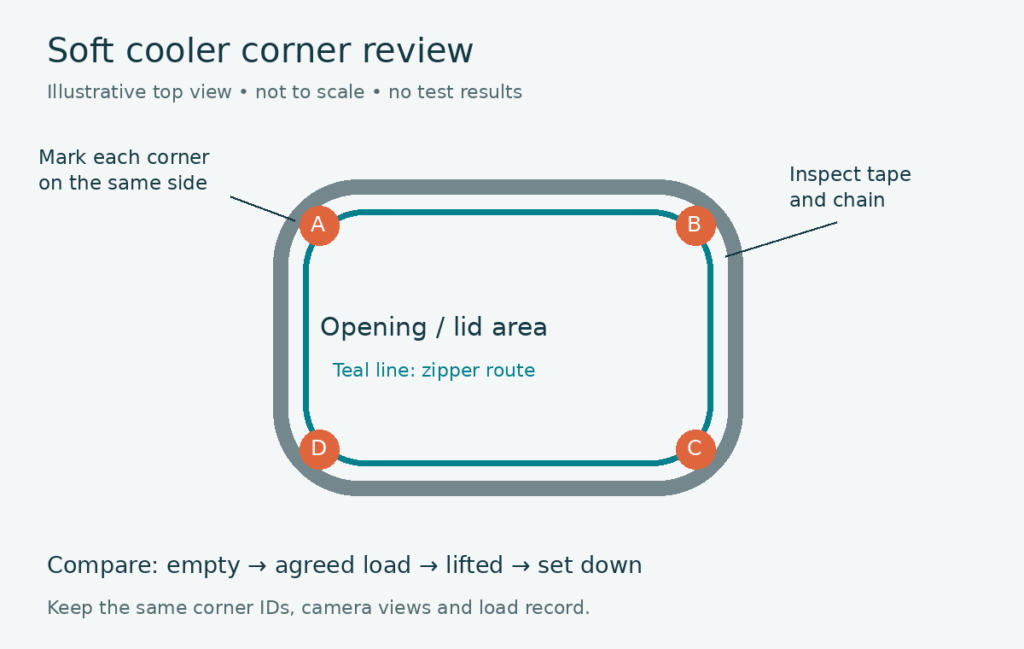
Mark the tape attachment area on the flat panel and keep the chain clear of the joining zone. Leave both ends accessible for inspection. Once this assembly works, review its joint to the bag body. If the opening must be sealed, the needle holes from sewing need an appropriate sealing treatment.
Inspect both zipper ends as well as the long attachment joints. An end can leak even when the straight joint looks neat. Check the effect of handle and strap forces too: a loaded bag can pull on a closed opening.
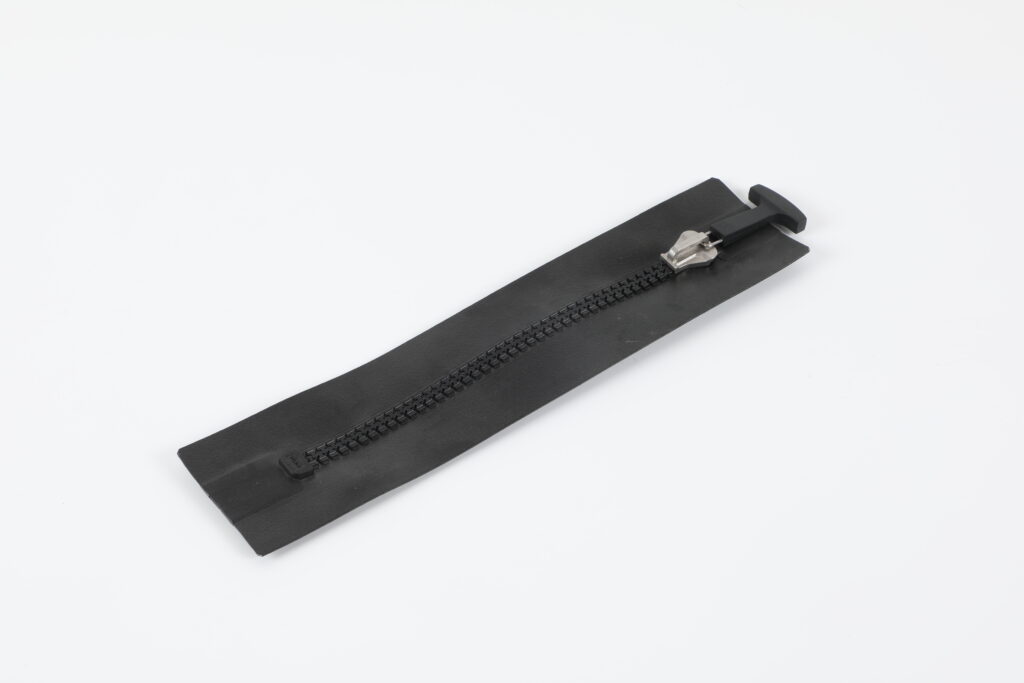
Panel preparation, joining, fixtures and inspection add to the component price. Include these operations when comparing the cost of a custom waterproof zipper with a roll-top assembly.
Compare prototypes under the same conditions
Use the same contents and carrying arrangement for both prototypes, with the same intended usable capacity. Record any extra height needed for rolling. Equal external dimensions can conceal a difference in usable space.
Have a user pack each version, close it, carry it and open it again. Note when they rearrange the contents or need a second hand to support the opening. Check for trim that catches or obstructs the closure. Repeat with the specified gloves if the bag is intended for glove use, and compare the observed handling.
Evaluate water protection separately from handling. Specify the exposure, bag orientation and acceptance criteria for the assembled bag, including its seams and attachment points. Rain, splashing and immersion need different evaluations. The airtight zipper selection guide explains why component leakage results do not establish finished-product performance.
Repeat the relevant checks after the agreed operating and handling sequence. If water enters, locate its path before changing the closure design.
A roll-top can suit a design that needs adjustable packed height and a straightforward top opening. A zipper can provide a fixed access path or extend across a wider panel. Choose the design that handles the intended load well and meets the finished-bag requirements in the assembly trials.