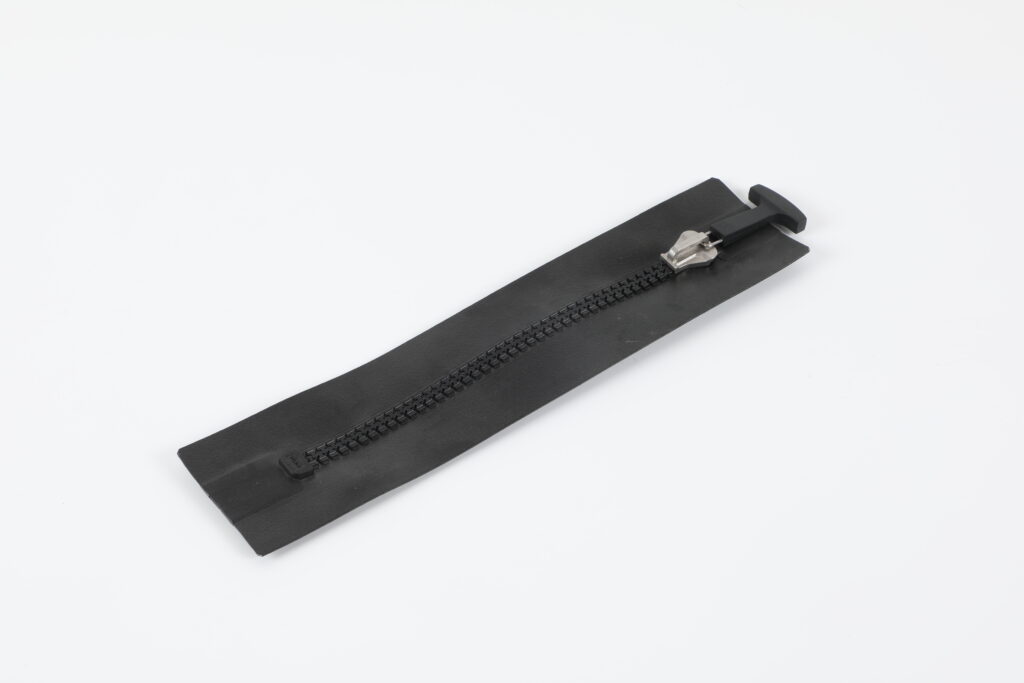
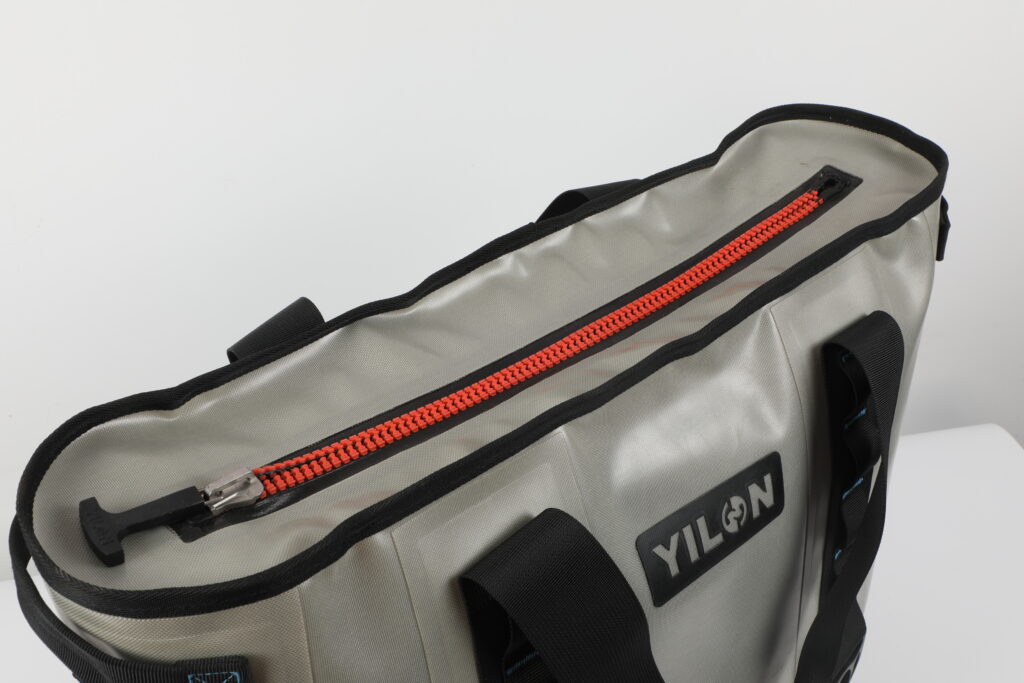
A storage opening can be long enough for a packed bag and still be awkward to use. The bag may fit through the middle but catch at an end, or pass through easily and then sit against the slider. Packraft storage zipper placement needs to account for the whole movement: approach, insertion, final stowage and removal.
Start with the intended cargo and the space around the opening. Keep the zipper configuration and attachment requirements on the drawing, but review the packing route before fixing the opening position. A flat pattern cannot show every obstruction inside an assembled tube.
Map cargo insertion paths
List the items that must pass through the opening in their actual packed form. A soft clothing bag changes shape when squeezed; a rigid container or tightly rolled item offers less freedom. Include buckles, handles and loose straps in the outline. The widest part of the main bag is only one part of the clearance problem.
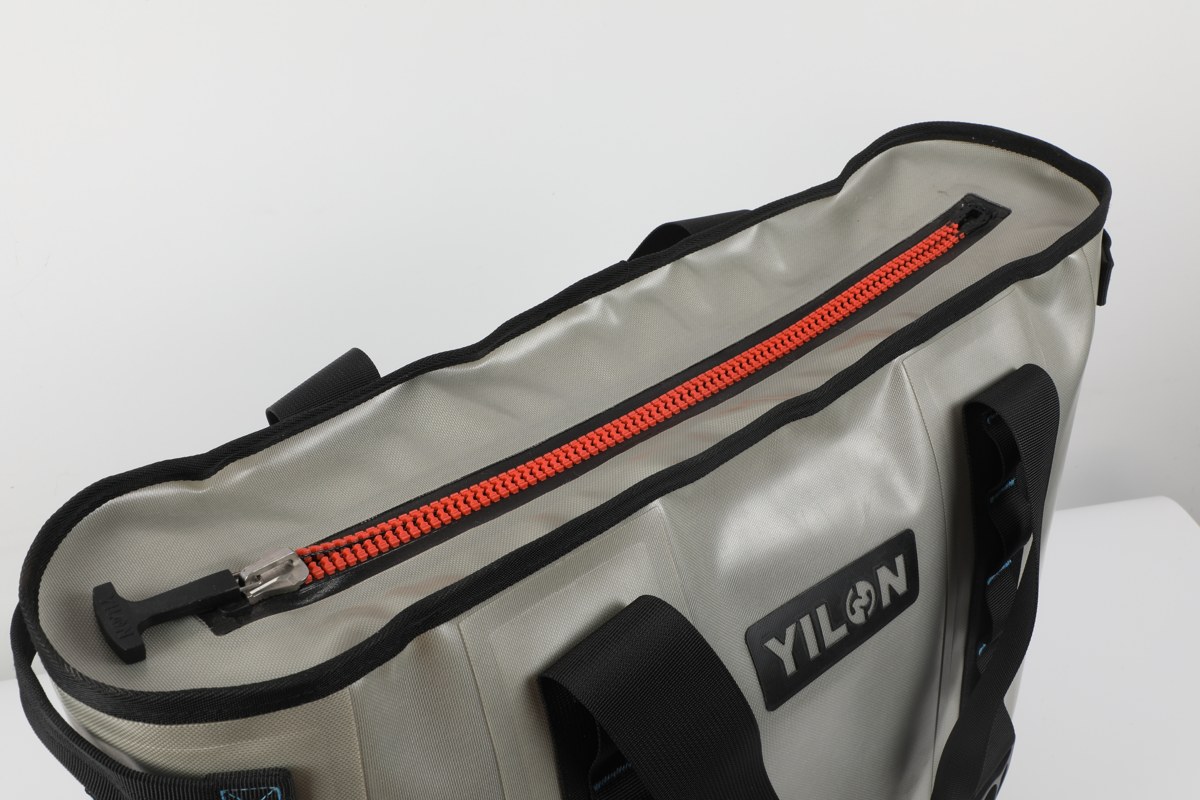
For each item, draw the approach direction, the point where it turns through the opening, and its final position. Check whether an operator can guide it from outside without dragging it along the chain. Repeat the movement in reverse: a bag that enters while loosely packed may be harder to remove after its contents settle.
Mark usable access separately from nominal zipper length. End fittings, the parked slider and the surrounding panel shape can restrict the space available to a hand or a packed item. The same distinction appears in our comparison of zippered and roll-top bag construction, where closure allowances affect usable capacity.
| Outside approach | Opening and turn | Final stowage |
|---|---|---|
| Packed item approaches the opening in its intended orientation. | The widest section passes between the open chain sides, clear of both ends. | Cargo moves beyond the closure and leaves the slider path accessible. |
| Record item envelope and strap positions. | Record the narrowest gap, location and boat condition. | Record separation from the chain, end fittings and attachment area. |
This sketch defines observation points, not dimensions. Establish clearance from the actual cargo, opening geometry and prototype conditions. Do not transfer a gap measured on a flat sample directly to an inflated tube.
Identify abrasion and snag locations
Inspect the chain edges, slider, pull, end fittings and surrounding attachment area individually. A hard buckle may slide past the middle of the opening but strike the parked slider. A loose strap can trail behind the load and remain across the closing path. Record the contact location before changing the opening length.
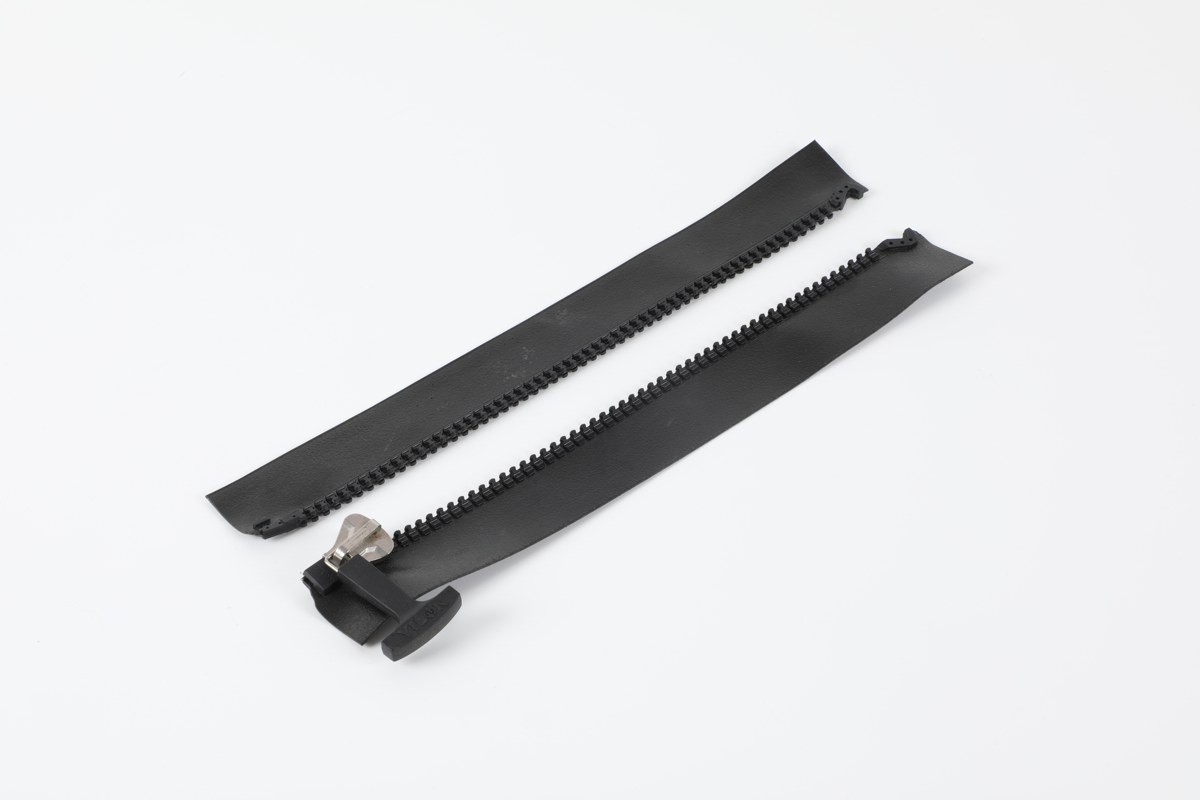
Leave room to inspect and operate the closing end. Nearby fabric, retaining straps and stored items should not conceal whether the slider has reached its specified closed position. If the pull catches or movement becomes difficult, stop and locate the interference rather than pulling harder.
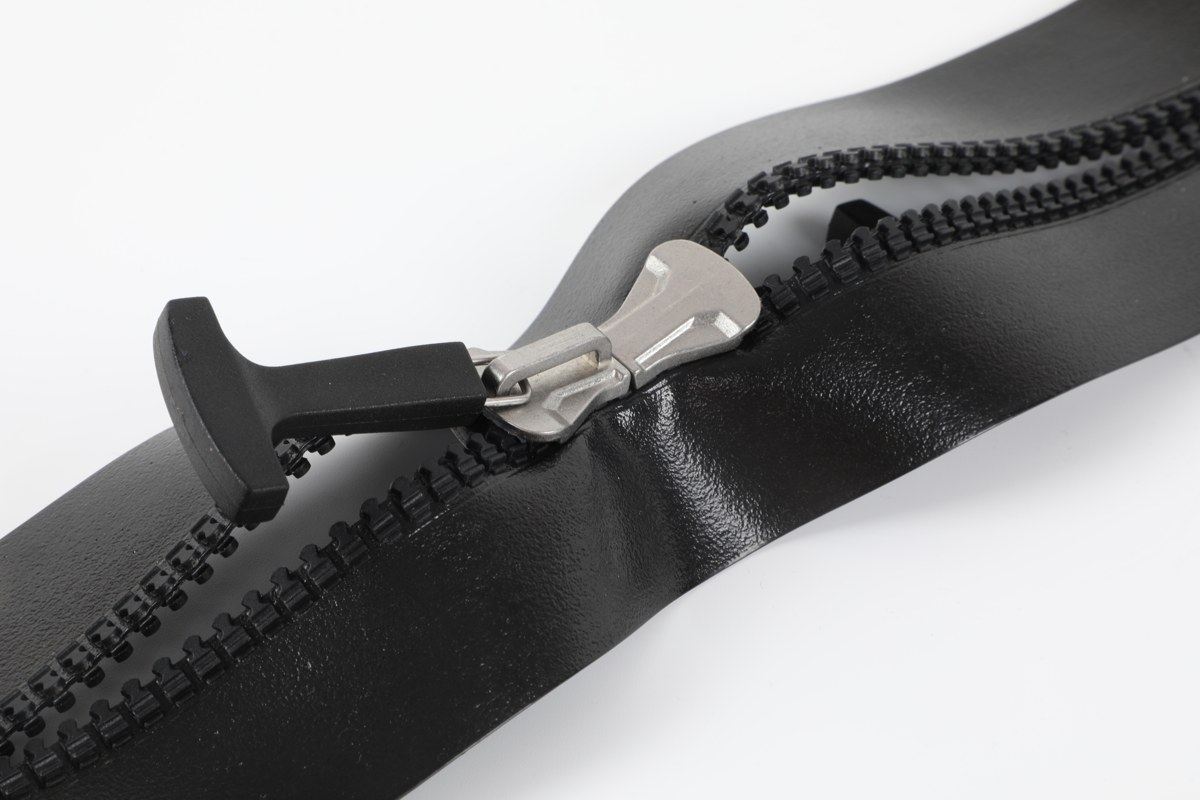
Also look for fabric folding into the route when the tube changes shape. An opening that lies neatly on the cutting table may twist after assembly. Our prototype review of zipper corners explains how comparing the same location under different loading conditions can help identify panel distortion.
Maintenance access belongs on the same drawing. The operator needs to see and clean the closure, including its end area. Follow the instructions for the exact zipper when selecting cleaning methods and lubricants; instructions for one closure construction do not automatically apply to another.
Record packing clearance in a mock-up
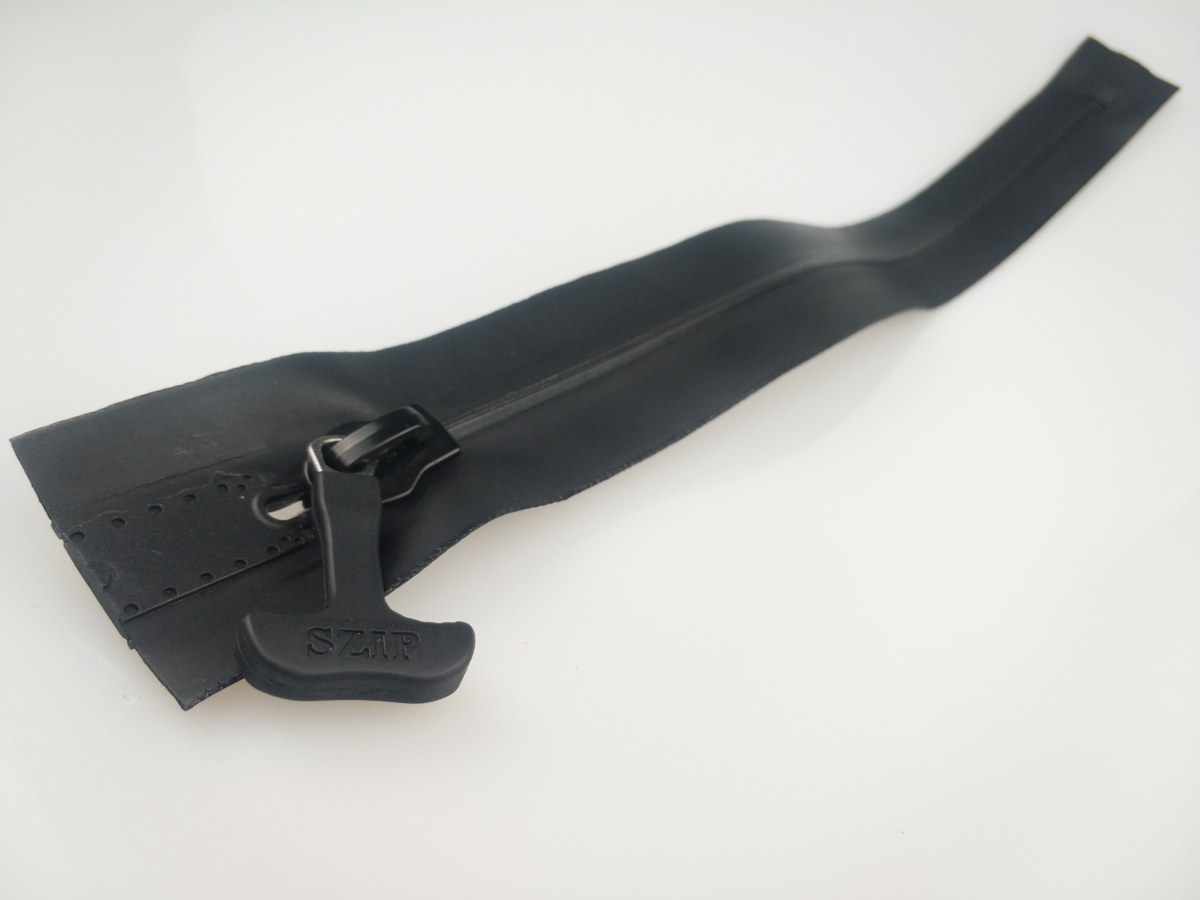
Use a full-size access mock-up to compare proposed positions before final tooling. It can reveal handling conflicts, but it cannot establish airtightness or structural strength. Follow with an installed prototype using the intended fabric, attachment process and closure configuration.
| Review point | What to record | Reason to revise |
|---|---|---|
| Insertion and removal | Cargo identity, orientation and contact locations | Hard parts scrape the chain or an item needs to be forced through |
| Final cargo position | Separation from the closure and any movement after handling | Contents settle into the slider route or against the end fitting |
| Closing operation | Panel shape and access to the closing end | Fabric or straps become trapped; the closed position is obscured |
| Installed evaluation | Boat condition, loading, method and acceptance criteria | Leakage or deformation requires investigation at the installed assembly |
Give each candidate position a revision ID. Photograph the same opening views with the same cargo arrangement so a later change can be compared fairly. Record measured gaps with their location and boat condition. Where practical, change one design variable at a time.
Pressure retention and structural loads must be evaluated on the installed inflatable under defined conditions. A successful packing exercise answers an access question; a component rating does not establish the performance of the boat, its attachment joints or adjacent seams. The waterproof zipper selection guide explains the distinction between closure specifications and finished-product evaluation.
Retain the approved cargo route, opening drawing, material stack and prototype record together. These give production reviewers specific locations to inspect when the pattern, zipper configuration or intended load changes.